Shrink photos, videos and PDFs safely
A practical guide to Furl's Shrink: when lossy compression is worth it, which settings to pick, how to read the preview, what it skips and how to undo.
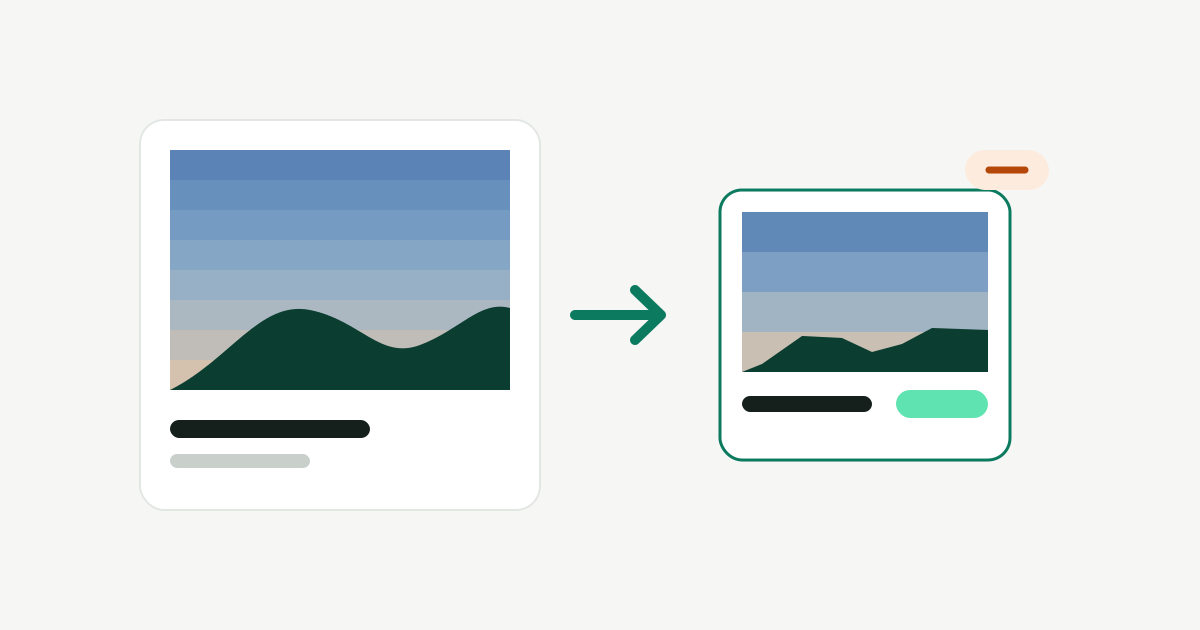
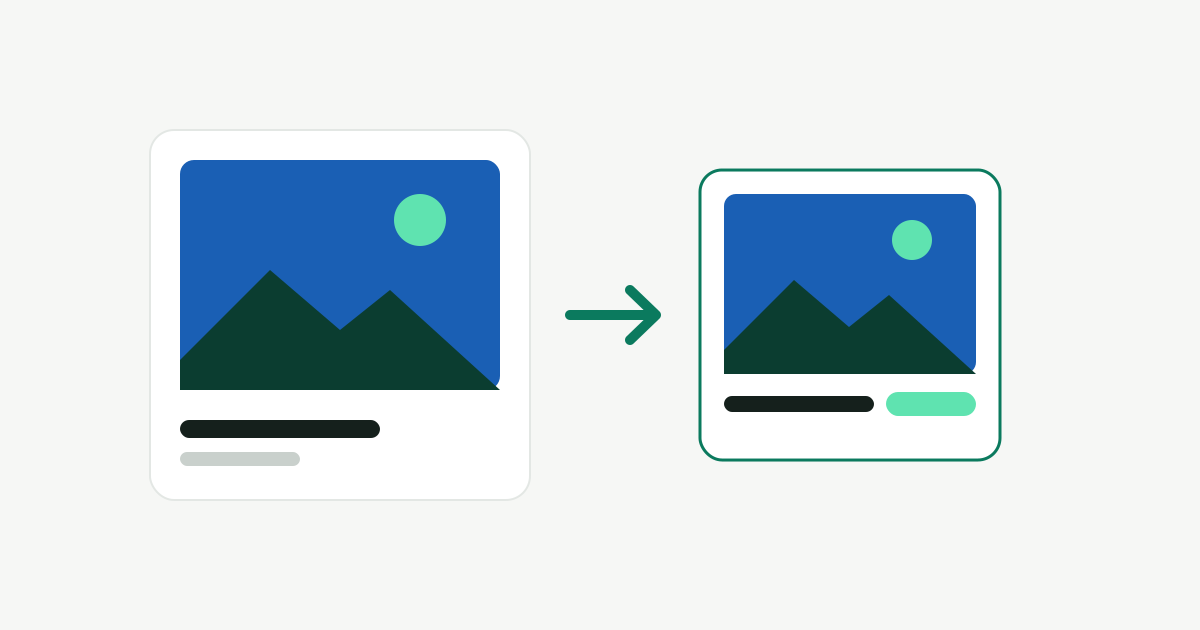
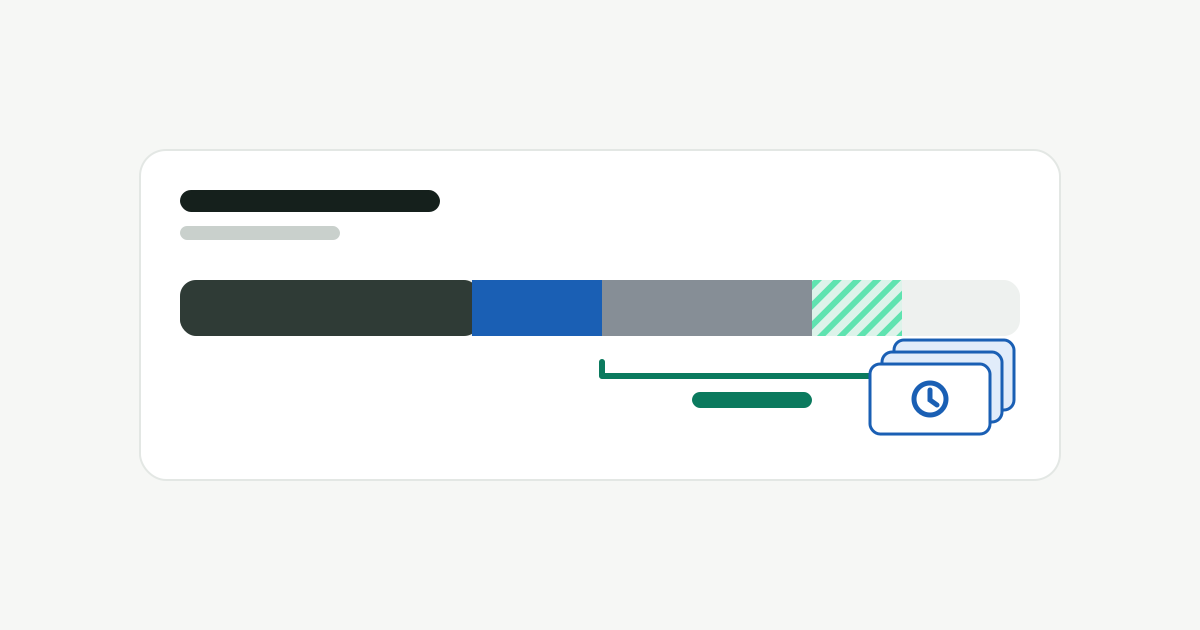
Shrink makes photos, videos and the images inside PDFs much smaller by re-encoding them at a lower quality. Unlike lossless Compress, the result is not identical to the original. That’s the trade: far more space saved in exchange for some detail you hopefully won’t miss. This guide walks through using it well.
When it’s worth it
Shrink pays off on files that are big, many and not precious:
- Screen recordings and demo videos. Often recorded in H.264 at high bitrates. Re-encoding to HEVC, especially down to 1080p, can save half or more.
- Exported drafts and reference photos. Large JPEGs from a camera or phone that you keep for reference, not for printing.
- Scanned or image-heavy PDFs. Brochures, scans and decks where the pictures are far higher resolution than any screen needs.
It’s not worth it for the only copy of family photos, anything you’ll edit or print later, or files that are already small. If in doubt, use lossless Compress, which is always safe.
Turn it on and choose what to look at
Shrink sits on the Compress page and is off until you turn it on. Then choose the folders to look in. It starts with your home folder, minus ~/Library, app folders and hidden folders. Pick which kinds of files to include:
- Photos (JPEG & HEIC): on by default. Only files over 300 KB.
- Videos (to HEVC): on by default. Only files over 20 MB.
- Images inside PDFs: off by default. Only PDFs over 2 MB.
- PNG images: off by default, and needs pngquant (see below).
The settings
- Image quality. 75% by default, used for photos and for images inside PDFs. Lower saves more and loses more. Check the preview rather than trusting a number.
- Format. Same format keeps JPEGs as JPEG and HEICs as HEIC. HEIC is smaller still, but changes JPEG files to
.heic, which older apps, websites and scripts may not accept. - Size. Keep the original pixel size or cap the long side. Resizing saves the most on big camera photos.
- Video. HEVC at the original size, up to 4K, or up to 1080p. Videos already in HEVC at that size are skipped.
- Skip files changed in the last 30 days, so files you’re still working on aren’t touched.
Read the preview
Before anything changes, Furl shrinks a small sample in a temporary folder and shows an estimate. Preview & Shrink… then lets you check individual files: the whole picture side by side, and Detail at 100%, where you’ll actually see loss. Each preview shows how much smaller the file gets and a quality label from “Hard to tell apart” to “Some visible loss up close”, based on a measured comparison with the original.
Look at the 100% detail on a few typical files, especially ones with fine texture, text or smooth gradients like skies. If you don’t like what you see, lower the savings by raising the quality, then re-measure.
What it skips
- Photos libraries and other app libraries, such as Music, TV, iMovie, Final Cut and Logic. Editing files inside them would corrupt the library, so they’re never touched.
- Cloud-synced folders: iCloud Drive, Desktop & Documents in iCloud, Dropbox, Google Drive, OneDrive and similar. A shrunk copy would replace the full-quality one on every device. You can allow a folder if you really want to.
- Files open in another app, and recently changed files unless you allow their folder.
- Files Furl has already shrunk. Each one is marked, because shrinking twice only loses more.
- Files that wouldn’t get at least 15% smaller. They keep their original.
- Photos whose details can’t be kept. Location, camera data, colour profile, dates and HDR or depth data are carried over; if they can’t be, the photo is skipped. Rare maker notes, edit history and some video tracks such as chapters or captions may not carry over.
After a run you get a summary of what was shrunk, kept, skipped and why.
Undo
Every original goes to the Trash at full quality. Click Undo on the Compress page to put back the originals from the last run, or restore any of them from the Trash yourself. Once you empty the Trash, the lost quality is gone for good, so check the results first. Apps that keep their own copy of your files, such as Lightroom or photo sync tools, may notice a changed file and re-import or upload it.
Optional: pngquant and MozJPEG
Two free Homebrew tools make Shrink better. Furl never bundles or installs them; it uses them only if they’re already there.
brew install pngquant
brew install mozjpeg- pngquant turns on PNG shrinking: it reduces an image to a palette of up to 256 colours, which works well for screenshots and graphics. On test images it made screenshots and interface graphics about 80% smaller and a photo-like PNG 57% smaller. It leaves the file alone if the result would be larger or drop below the minimum quality, and it converts wide-gamut (P3) colour to sRGB, which the item’s note tells you.
- MozJPEG is tried alongside Apple’s encoder when a JPEG stays a JPEG at its original size. Both are matched to about the same measured quality and the smaller file is kept. It tends to win at lower quality settings: in our tests Apple’s encoder won at the default 75%, MozJPEG was 13% smaller at 40%. It’s skipped for photos with HDR gain maps or depth data, and if it fails or loses metadata, Apple’s result is used.
For how all this compares with lossless compression, and why it can’t be undone once the Trash is empty, read Lossless vs lossy compression.